version v7.2.
For up-to-date documentation, see the
latest version.
Artifactory Releases Bundles
3 minute read
Check with the platform administrators that a SIGNING key is configured and available.
Prerequisites
You’ll need:
- Local repositories: For storing your artifacts
- Virtual repositories: For resolving dependencies from public repositories
- Projects: JFrog Projects to organize your work
- JFrog CLI : a simple interface to automate access to JFrog.
Publish Artifacts with Build Informations
Build Info ensure that you can always trace back what was built, by whom, where and from which source.
To capture those informations so you can be able to create a Release Bundle:
- Define the following variables under Settings > CI/CD > Variables
JFROG_PLATFORM_URL: url to your Artifactory platform.JFROG_PLATFORM_USER: user account, ideally a service account.JFROG_PLATFORM_PASS: token for authentification.
- Modify or Create a
.gitlab-ci.ymlto have a job that collect build informations.
deploy-with-build-info-job:
  image: $CICD_ARTIFACTORY_STEP_IMAGE # Specify the Docker image to use for the job, e.g., "jfrog/artifactory-cli:latest"
  stage: deploy
  script:
    - echo "Deploying application..."
    - jf config add integration --url=$JFROG_PLATFORM_URL --user=$JFROG_PLATFORM_USER --password=$JFROG_PLATFORM_PASS
    - jf rt u <file_to_upload> <repository_path> --build-name=$CI_JOB_NAME  \
        --build-number=$CI_JOB_ID --project=<project-key> # upload artifacts with build information
    - jf rt bce $CI_JOB_NAME $CI_JOB_ID --project=<project-key> # Collect environment variables for the build
    - jf rt bag $CI_JOB_NAME $CI_JOB_ID --project=<project-key> # Collect details from git and add them to the build
    - jf rt bp $CI_JOB_NAME $CI_JOB_ID  --project=<project-key> --build-url=$CI_JOB_URL \
        --env-exclude="*PASS*;*secret*;*key*;*TOKEN*;*AUTH*" # Publish build info by exclude secrets variables
    - jf bs $CI_JOB_NAME $CI_JOB_ID --project=<project-key> # scan artifactory
    - echo "Build artefact successfully delivered."
Replace <project-key> by your project key and set the <file_to_upload> and <repository_path>
to the appropriate values for your deployment.
- Run the pipeline
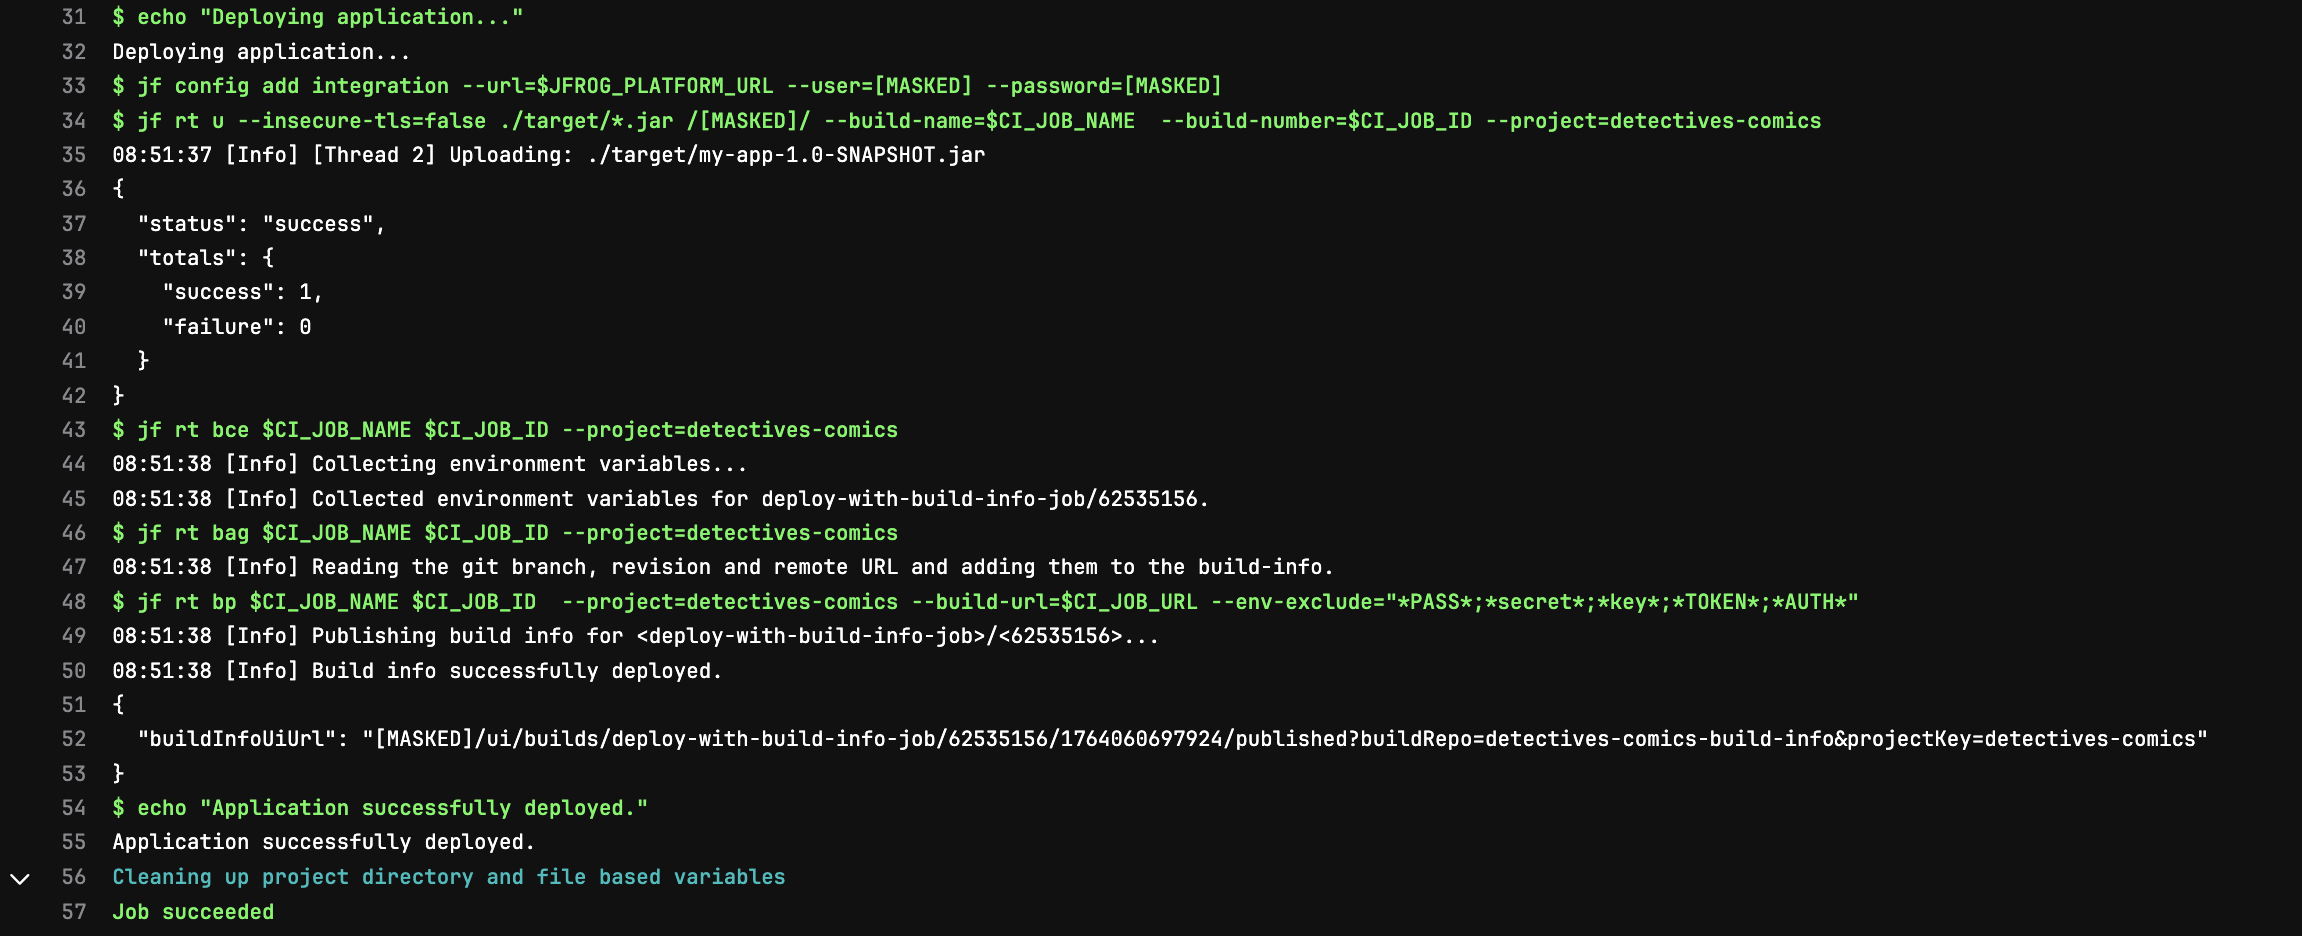
- Navigate to the Artifactory to view the deployed artifact, including all of the collected build information:
Under your Project view, Go to the Builds section to see the build details:
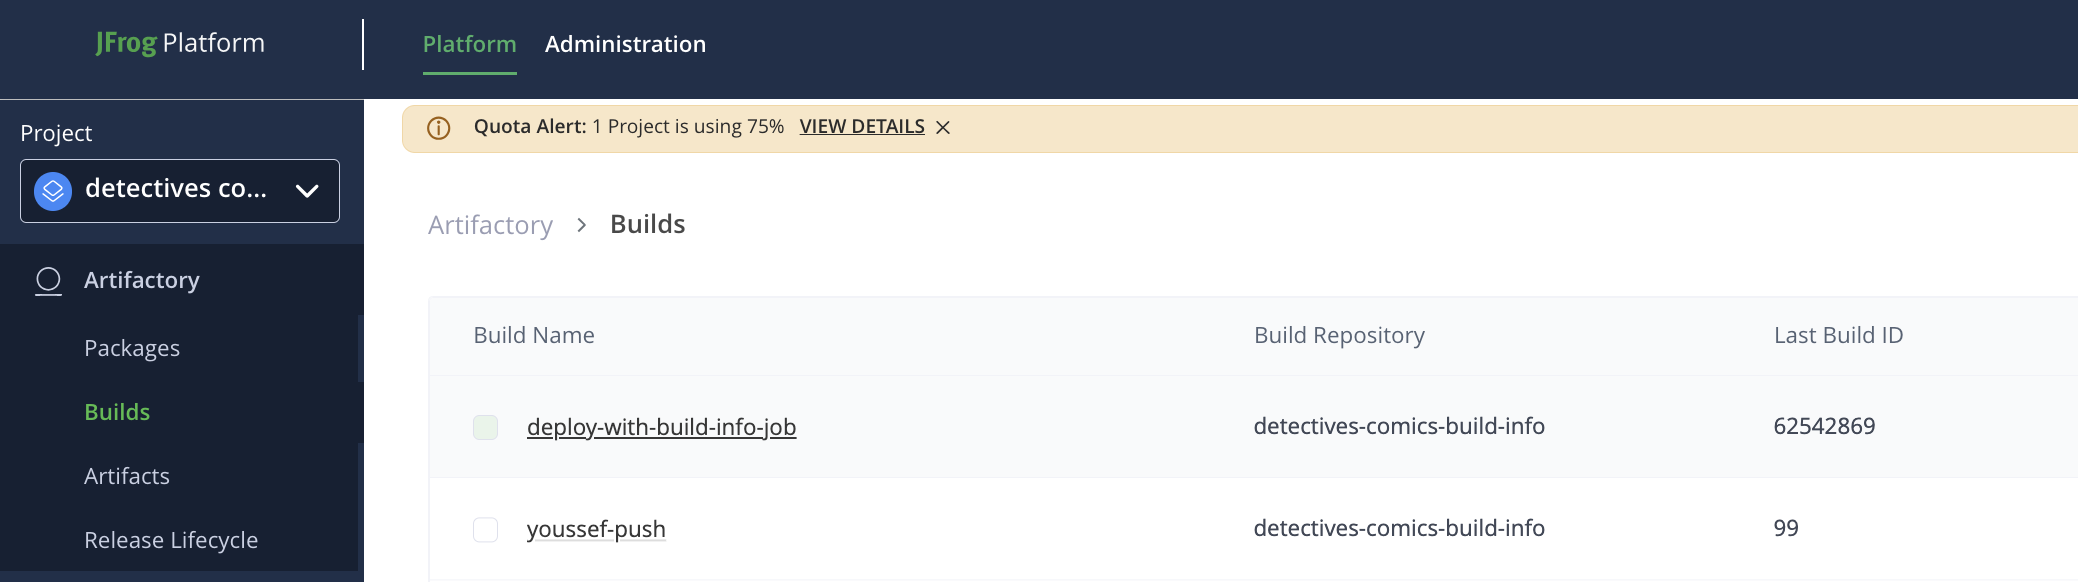
Select your Build to see all related builds ID and CI server information.
Select one Build id to view detailed information about the build like the CI Agent, environment variables used during the build, VCS infos, Xray data if available.

Create Release Bundle from Build Info
- Navigate to Build section in your Project under Artifactory,
- Select
Create Release Bundleat the right top corner of the screen. - In the New Release Bundle screen, fill
Release Bundle Name: Enter a name for your release bundle.Release Bundle Version: Specify the version with Semver convention (e.g., 1.0.0)Signing Key, select an available signing key from the dropdown list.
- Select a
Build NameandBuild Versionfrom the list of available builds.- Check if you want
Ìnclude Build Dependenciesto include all dependencies associated. - Select
Addand repeat the action to include other Builds
- Check if you want
- Select
Createto finilize the creation of the release bundle.